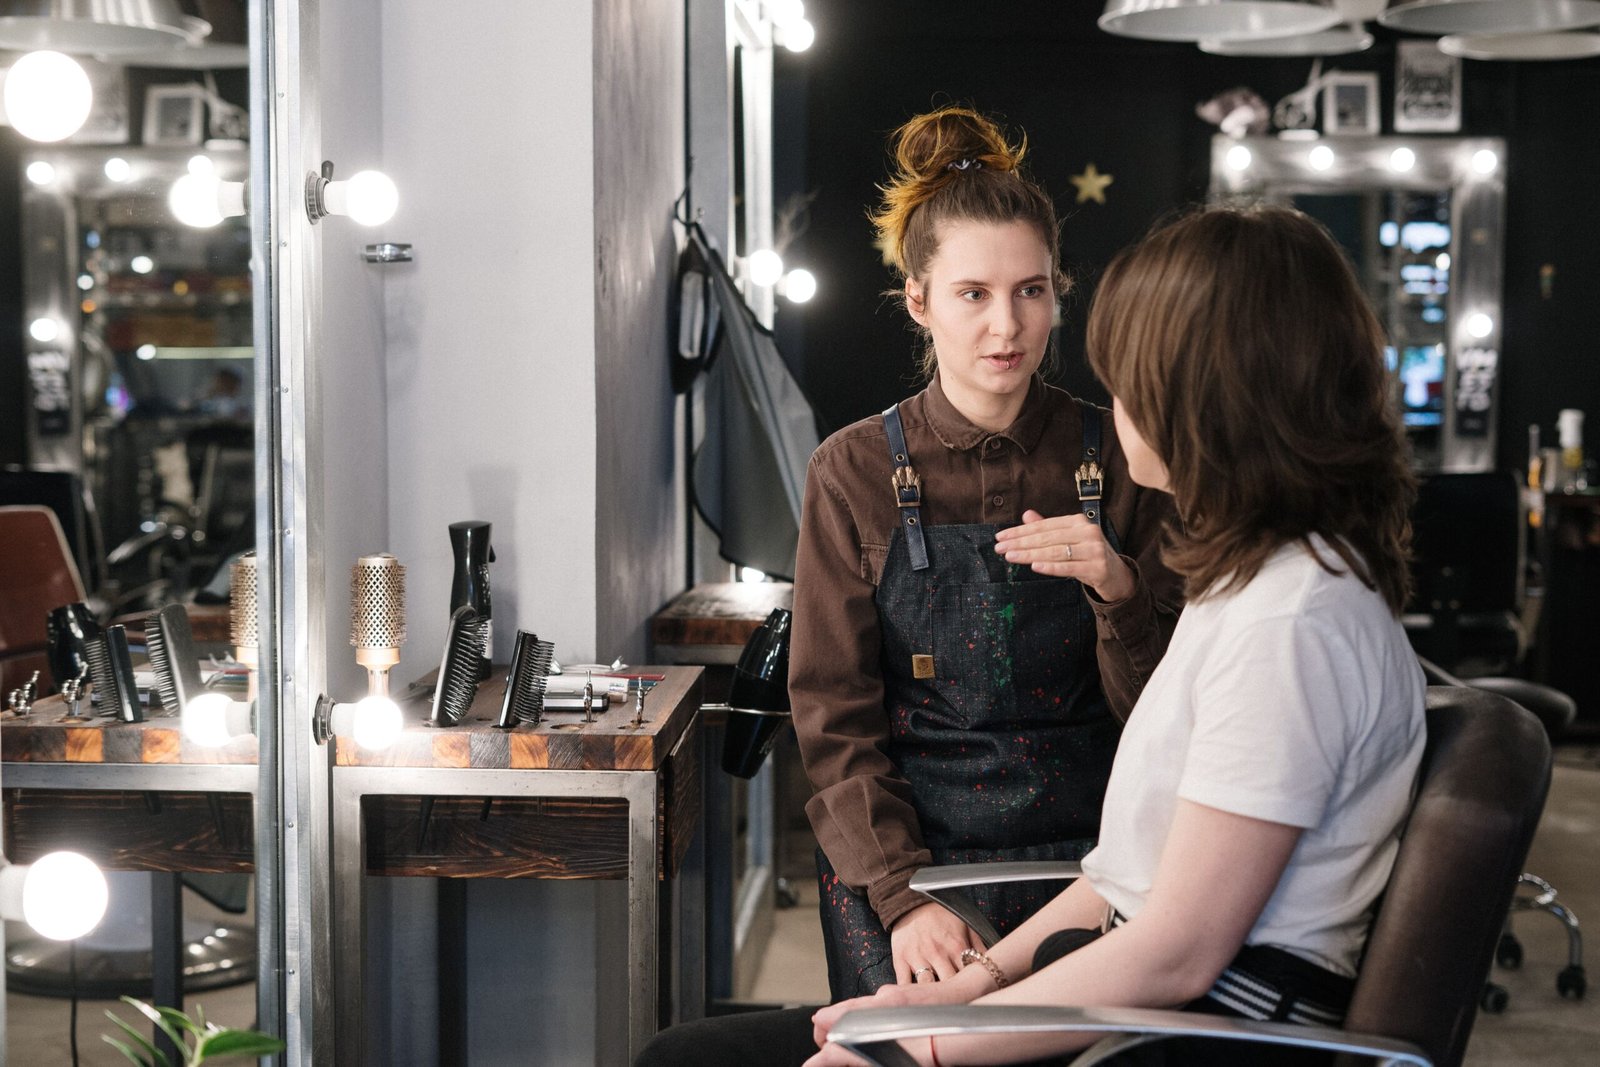
A haircut photo can be useful without being a blueprint. The mistake is treating the entire picture as one request when the result you actually like may come from only two or three details: the length around the face, the weight through the ends, the fringe, or the way the hair has been styled.
That distinction matters because a reference image contains much more than a haircut. It also contains someone else’s density, texture, growth pattern, color, styling routine, camera angle and lighting. Your stylist can copy the idea; they cannot copy all of those conditions.
A better approach is to read the photo in pieces. If you are still deciding on the overall silhouette, StyleVeya’s haircut decision guide is the useful starting point. Once you know the family of cut you want, the reference photo becomes much easier to discuss.
Start with the shortest visible point
Before talking about “layers” or “a bob,” look at where the haircut actually ends. Does it finish at the jaw, below the chin, at the collarbone or on the shoulder? A difference of a few centimeters can change how the hair tucks, moves and grows out.
This is especially important with photographs taken from slightly above or below eye level. Perspective can make a cut appear shorter or longer than it really is. If the exact length matters to you, describe the body landmark you want to keep rather than relying only on the picture.
Then look at the perimeter, not just the face
The bottom edge tells you whether the haircut is carrying weight or giving it away. A blunt perimeter creates a stronger, denser line. A softer perimeter with layered or textured ends can move more freely but may look lighter.
That is one reason two “shoulder-length” cuts can feel completely different. One may hold most of the density at the bottom; the other may release weight through the ends. If you have fine or lower-density hair, that difference can matter more than the name of the haircut.
Find the first layer you can actually see
When people say “I want layers,” they can mean anything from a few long face-framing pieces to a heavily layered shag. Look for the shortest layer in the photo. Does it begin around the cheekbone, jaw, chin or much higher at the crown?
If the front framing is the part you like, say that. If you like the lift around the crown, say that instead. A stylist can keep the rest of the haircut relatively solid while changing one area.
For longer shapes, the examples in Long Layered Haircuts show how different layer starting points change movement without necessarily sacrificing overall length.
Do not mistake styling for cutting
A round-brushed blowout, curling iron, root lift and product can create movement that is not built into the haircut itself. The opposite is also true: a strong layered cut can look much flatter in a photo if it has been air-dried or photographed in humid conditions.
Ask yourself what the same haircut would look like on a normal morning. If the photo only works because every section has been curled away from the face, that should be part of the salon conversation.
It helps to bring one “finished” photo and one more natural-looking reference when possible. The pair makes it easier to separate cut from styling.
Fringe needs its own decision
Bangs can change the entire feel of a reference photo, but they also depend heavily on forehead length, cowlicks, curl pattern and how often you are willing to trim them. Do not assume you need the exact fringe just because you like the rest of the cut.
If you are unsure whether a full fringe, curtain fringe or longer side-swept front is the part you want, compare the shapes in Bangs and Fringe Ideas before the appointment.
Notice what the photo does not show
Front-facing inspiration photos often hide the nape, back layers and crown. Side-profile photos may hide how much hair has been removed around the opposite side. A perfect three-quarter portrait can still leave the most important construction details invisible.
That is why bringing two or three images is often more useful than finding one “perfect” image. One can show the front, another the side, and a third the length or texture you want.
Use the photo to describe preferences, not to issue instructions
You do not need salon terminology. Clear everyday language is usually better:
- “I like how full the ends look.”
- “I want the shortest face-framing piece to stay below my cheekbone.”
- “I like the movement, but I do not want this much fringe.”
- “I need to be able to tuck the front behind my ears.”
- “I like the length but not the amount of volume at the crown.”
Those sentences give the stylist something concrete to adapt to your hair. If you want to organize the details before the appointment, the StyleVeya Stylist Brief is built for that.
One photo can inspire the cut without dictating the result
The most successful reference image is not the one your stylist copies most literally. It is the one that helps both of you agree on length, weight, movement and maintenance before the scissors come out.
Use the picture to explain what you are drawn to, then let the final shape account for your real hair. That keeps the inspiration useful without turning someone else’s photograph into an unrealistic promise.
Quick questions before you save a haircut photo
- Where is the shortest point?
- Where does the perimeter finish?
- How strong or soft are the ends?
- Where do the shortest layers begin?
- Is the movement coming from the cut, the styling, or both?
- Would you still like the cut without the exact color?
- Would it work with the amount of daily styling you normally do?
Frequently asked questions
How many haircut reference photos should I bring?
Two or three is usually enough when each photo has a purpose. One might show the length, another the front framing, and another the texture or back shape.
Should I choose someone with the same face shape as me?
It can help, but matching hair density and texture is often more useful. Face shape can guide where volume and framing sit; it does not make the haircut transferable by itself.
Is it okay to bring a photo with a different hair color?
Yes. Just remember that highlights and contrast can make layers look more visible than they would on one solid shade.