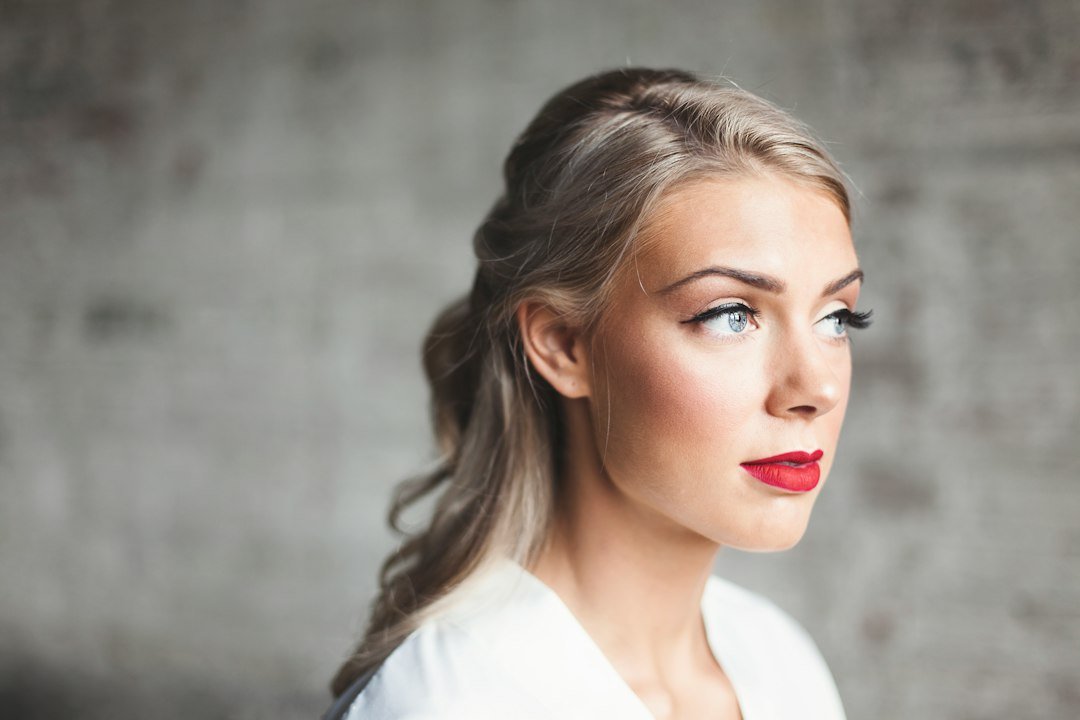
Brows often get overworked because every product is used across the whole shape. A pencil fills, a gel lifts, a pomade adds density, and suddenly the brow is much stronger than the rest of the face.
Start with the problem you are trying to solve. If the hairs are already full but drop downward, you may need hold rather than more pigment.
Gel changes direction more than structure
Clear or tinted gel can lift the front, control longer hairs and keep the tail in place. Tinted formulas also add a small amount of color, especially to pale or fine brow hairs.
Gel cannot create a missing lower edge or rebuild a sparse tail with the same precision as a pencil.
Pencil is for selective structure
Use fine strokes only where the brow loses continuity: a gap through the arch, a short tail, or a lower edge that disappears. Pressing harder does not create a more realistic hair stroke; it creates a more obvious line.
Brush through after drawing so the pigment sits between hairs rather than on top of them.
Using both does not mean using both everywhere
Try pencil on sparse areas, then gel through the whole brow. Or use gel first to reveal the true gaps, then add pencil only where the skin still shows.
This keeps the front from becoming blocky and lets the natural density remain visible.
Check the brow in normal light
Close mirrors encourage overfilling. Step back and look at both brows together. Small asymmetries are normal; the face often looks more natural when you stop before they become identical.
The simplest rule is useful: pigment where structure is missing, hold where hair is moving the wrong way. Everything else is optional.
If you are building a quick everyday face rather than a full routine, the five-minute polished makeup guide shows where brow definition fits without adding unnecessary steps.
Choose pencil texture for the job
A very soft pencil is quick for filling but can look dense on sparse areas. A firmer micro pencil makes smaller strokes and is easier to control at the tail. If you already have full brows, a tinted gel may be enough and a pencil may only be needed on one small gap.
Do not laminate every brow with gel
Strong upward hold changes the apparent shape of the brow. If your hairs naturally grow sideways, brushing every hair vertically can create a larger, more editorial brow than you wanted.
Try lifting the front and guiding the middle and tail closer to their natural direction.
Map the brow before adding product
Brush the hairs upward and outward first, then look for the actual gaps. Many people automatically pencil the entire lower edge even when only the tail or one sparse section needs structure. Filling only the missing areas keeps the brow from becoming darker and more geometric than intended.
Once the pencil work is done, brush through again before applying gel. That softens concentrated marks and shows whether any extra definition is still necessary.
Clear and tinted gel solve different problems
Clear gel mainly controls direction and texture. Tinted gel can also add visual density, especially where fine hairs are present but pale. If you already used pencil to create significant structure, a heavily pigmented gel on top may make the brow too solid. Choose one product to do most of the color work and let the other support it.
For a fast routine that prioritizes only the features that need attention, our five-minute makeup article pairs well with this selective approach.
Check expression, not just symmetry
A brow can be technically even and still look too stiff if the front is squared off or every hair is glued into the same vertical angle. Relax your face, step back from the mirror and check whether the brows still move naturally with your expression. Hold is useful; frozen uniformity is not a requirement.
Choose shade differently for pencil and gel
A pencil that is slightly too dark can create obvious strokes, while a tinted gel may look softer because the pigment sits mainly on the hairs. If you use both, they do not need to be identical shades.
Keep the structural product close to the natural brow depth, then let the gel add only enough color to make lighter hairs visible.
Use the tail as the precision test
The tail is where a pencil earns its place because gel cannot extend hairs that are not there. Draw the tail with light pressure, step back, and check that it follows the natural direction instead of dropping sharply downward.
If the front and middle are already full, leave them mostly to gel rather than filling the entire brow just because the tail needed help.
Humidity can change the amount of hold you need
On warm or humid days, hairs that normally stay in place may fall sooner. That does not always require a stronger pencil or more color. Use a little more gel only where the direction changes first.
For everyday wear, the most practical brow is the one that still looks intentional after normal movement rather than one that is perfectly fixed at application.
Remove buildup before judging the product
Repeated layers of gel can leave hairs feeling coated, which may make the next application clump or flake. Start with clean brow hairs when you are comparing formulas so you can tell whether the product itself works for you.
Choose the order that reveals mistakes fastest
If you tend to overfill, start with gel so the natural hairs are visible and pencil only the remaining gaps. If your tail disappears completely, sketch that structure first and use gel afterward to soften the result.
The order should help you use less product, not simply follow a fixed routine. If the brow already looks balanced after the first product, stop there instead of adding the second automatically. That restraint usually keeps the finished brow softer and more believable.
Featured image: Photo by Nick Arnot on Unsplash.