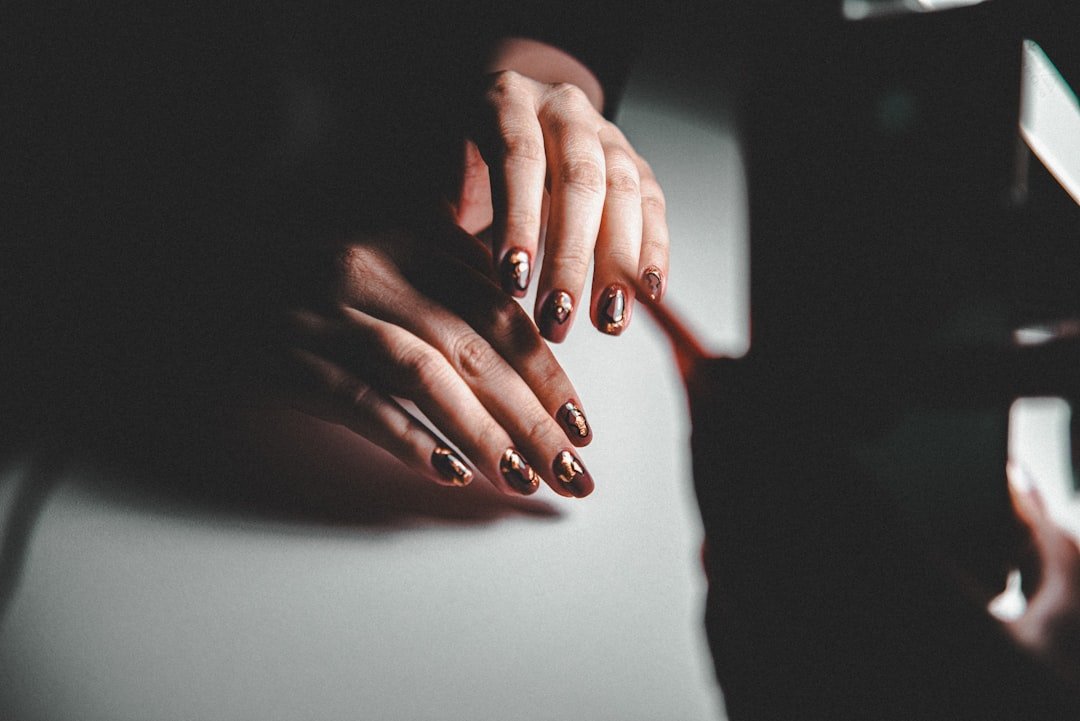
Plaid is a pattern with several moving parts: horizontal lines, vertical lines, color changes and intersections. On a short nail, trying to reproduce a full textile check in miniature can turn into a dense grid.
The cleaner approach is to borrow the logic of plaid rather than copy every stripe.
Reduce the number of lines first
One or two vertical lines and one horizontal crossing can be enough to suggest plaid. Make one line slightly heavier and keep the others fine so the design has hierarchy.
Leaving visible base color between lines prevents the nail from looking visually shorter.
Choose contrast deliberately
Dark green with cream feels classic; brown with beige is softer; red with navy looks sharper. On very short nails, three colors are often enough.
The scale of the design matters more than copying a complicated reference exactly. A small nail usually looks clearer when one stripe is dominant and the remaining lines stay fine.
Use the natural nail width to set the grid
A narrow nail may only have room for one vertical and one horizontal line before the pattern becomes crowded. A wider thumbnail can carry an extra crossing line while still leaving visible base color.
Let the grid change slightly from finger to finger while keeping the same palette and line hierarchy.
Test the pattern from arm’s length
A plaid design can look precise in a close photo and turn into visual noise from normal viewing distance. After the first accent nail is painted, look at the whole hand before repeating the same line count everywhere.
If the pattern reads as a dark block, remove one line or increase the spacing before finishing the set.
Choose a simpler version for the non-dominant hand
If you are painting your own nails, a full grid can be difficult to repeat with the opposite hand. Use solid coordinating nails, single crossing lines or one plaid accent instead of forcing identical complexity.
The manicure can still feel cohesive because the colors and line style repeat even when the detail level changes.
Use an accent-nail strategy if you want more detail
Put the most complete plaid on one or two nails and use a solid coordinating shade on the others. That makes the pattern easier to read and reduces the time spent on micro lines.
For simple short-nail ideas, the short natural nail guide is a useful reference.
Finish matters
Gloss makes fine lines look crisp. Matte can emphasize the textile feeling, but it also makes uneven line thickness more obvious. Seal the art thoroughly so raised striping does not catch at the edges.
On short nails, plaid looks most polished when the pattern has breathing room. You are designing a small surface, not shrinking a whole piece of fabric.
Line thickness changes the whole pattern
On a short nail, a stripe that is only slightly too thick can dominate the design. If you are doing plaid at home, use a fine liner brush and wipe excess polish before touching the nail. It is easier to make a line wider than to rescue one that started too heavy.
Let one color do most of the work
Choose a base shade that already gives the manicure its mood, then use the plaid as detail. A cream base with green and brown lines feels different from a navy base with red and white lines even if the grid is identical.
The background color should still be visible when you look at the hand from arm’s length.
Plan the grid around the widest nail first
On short nails, the thumbnail or middle finger usually offers more room for a full plaid repeat than the pinky. Design the largest version first, then simplify it as the nail plates get narrower. Trying to force identical line counts onto every finger can make the smaller nails look cramped.
A simple way to scale down is to keep the same base color and two line colors but remove one crossing line on the smallest nails. The manicure still reads as a set because the palette remains consistent.
Spacing matters more than microscopic detail
When stripes sit too close together, plaid quickly turns into a dark block. Leave visible areas of the base color between lines so the pattern can be read at arm’s length. This is especially important if one of the stripe colors is black, navy or burgundy.
For shapes that give short nail art more room, compare the options in our nail-shape guide.
Use top coat to unify different line textures
Fine striping polish, gel paint and hand-drawn lines can dry with slightly different surface heights. A smooth top coat helps the finished nail look deliberate rather than layered. If the design is very raised, one thick flood coat is not always the answer; two controlled thin coats can level the surface with less bulk at the edges.
Photograph the pattern before the appointment ends
If you want to recreate the design later, take one close photo while the manicure is fresh. Note which nails use the full grid and which use simplified stripes. That reference is much more useful than asking for “the same plaid” months later when line placement and scale are easy to misremember.
Regrowth is easier when the base stays sheer or neutral
If you want the design to last visually, a sheer beige, milky nude or soft neutral base can make the cuticle line less obvious as the nail grows. The plaid remains the focal point while the regrowth stays quieter.
An opaque dark base creates a stronger look but also shows growth sooner.
Keep the smallest nails simplest
The pinky often does not need the full grid at all. One vertical stripe, a small corner check or a solid coordinating color can keep the set balanced without overcrowding the narrowest nail.
Repeating the same palette is enough to keep the manicure cohesive.
Use a repair plan for chipped lines
If one thin stripe chips, touching up that line is usually cleaner than repainting the whole nail. Seal the repair with top coat only after the line has dried so the correction does not drag into the surrounding pattern.
If several intersections lift or chip, rebuilding that nail may look better than stacking multiple fixes.
Featured image: Photo by Ondrej Supitar on Unsplash.