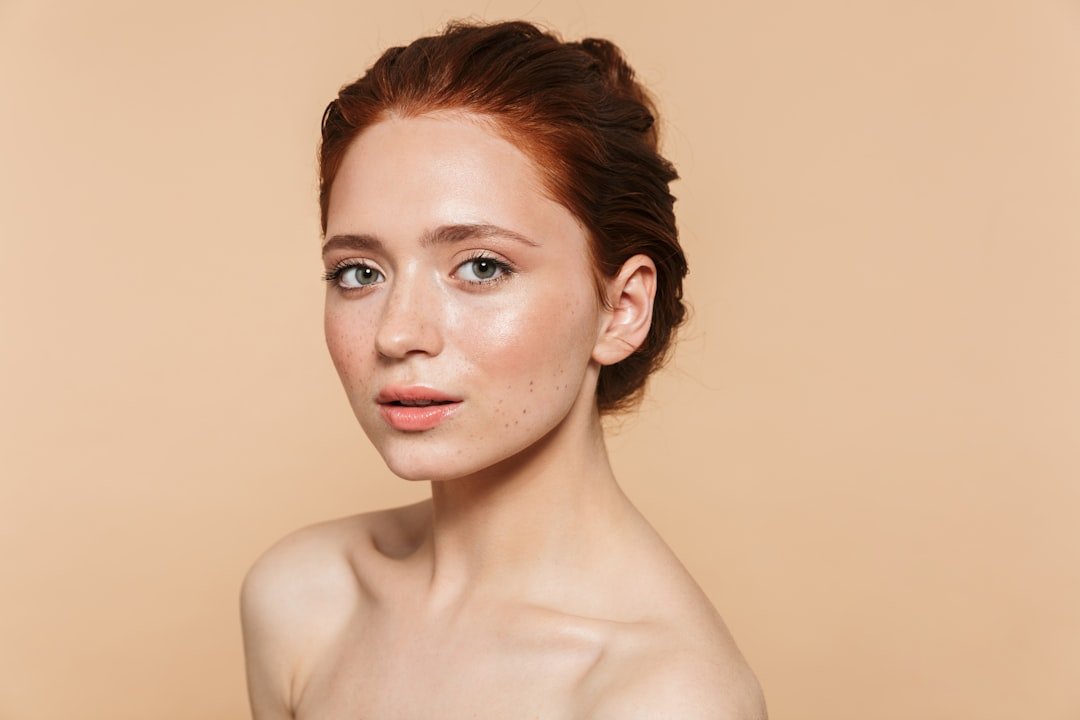
Underpainting reverses the order many people learned: cream blush, bronzer or contour goes on first, then a lighter layer of foundation or skin tint is blended over it. The color should remain visible while the top layer softens its edges and makes the complexion look less obviously layered.
The technique works best when the base makeup has some transparency. If the top layer is fully opaque, it can cover the underpainting almost completely and remove the effect you were trying to create.
Underpainting is mainly about diffusion
Traditional placement puts color on top of foundation. Underpainting places the color underneath so the final base softens the edges. The result can look more integrated because the blush or bronzer appears to sit within the complexion rather than on top of it.
The foundation must allow some color through
A sheer to medium base usually works better than full-coverage foundation. If your foundation is very opaque, use less of it over the areas where the cream products are placed.
Another option is to apply a thin layer of foundation first, underpaint selectively, then add a final light veil only where needed.
Use more color than a finished application—but not much more
The top layer will reduce intensity, so underpainting usually starts slightly stronger than a finished blush or bronzer application. That does not mean painting large stripes everywhere.
Start with controlled placement. It is easier to add more color later than to correct a thick cream layer under foundation.
Placement still matters
Putting blush underneath foundation does not change where it shapes the face. High placement can visually lift the cheek, while lower or more central placement creates a softer effect.
Our blush placement guide explains how position can change the result without relying on heavy contour.
Use tapping motions over the top
Dragging foundation aggressively across the face can move the cream products underneath. Pressing or lightly stippling the base helps preserve the placement while softening the edges.
A damp sponge can work well for this because it applies a thinner layer. A dense brush can also work if you use short pressing motions instead of sweeping back and forth.
Choose compatible textures
Very dry cream products can grab under foundation. Extremely emollient formulas can slide around when the top layer is added. A cream with some blendability but enough grip is usually easiest.
The base on top should also be flexible enough to sit over cream without separating.
Underpaint blush, bronzer or contour separately
You do not need to reverse your entire routine at once. Start with the feature whose edges you most want to soften.
Underpainting only blush can create a natural flush. Underpainting bronzer can soften warmth around the perimeter of the face. Contour can also be underpainted, but the placement needs to stay precise because the top layer can blur it more than expected.
Use the technique when you want skin to remain visible
Underpainting works naturally with lighter complexion makeup because the color can show through. It pairs well with the skin-like direction in our bare-looking skin guide.
If your preferred look is very matte and full coverage, traditional layering may give you more control.
Start with one cream product, not the whole face
Trying blush, bronzer and contour underneath the base all at once can make it hard to tell which step improved the finish and which one made blending harder. Begin with the product whose edges you most want to soften.
For many people that is blush. Once you know how much color survives the base layer, you can decide whether bronzer or contour also benefits from the same order.
Work in zones so the base does not become muddy
Apply the top layer in small sections rather than covering the entire face quickly. Press complexion product over one area, check how much color remains, then move to the next zone.
This makes it easier to preserve cheek color while still adding enough coverage around the nose, chin or under-eyes.
Powder can change the final intensity
If you set the face heavily after underpainting, some of the translucency can disappear even when the foundation looked perfect. Use powder only where wear or shine needs control.
A lighter setting approach usually keeps the cream color easier to see through the base.
Underpainting is easier to judge from normal distance
Close mirrors can make the blush or bronzer look stronger than it does in real life. Step back after the base is applied and check whether the color still reads at conversation distance before adding more.
That final check helps prevent the common cycle of adding too much cream underneath, covering it, then rebuilding the same color again on top.
Common mistakes
- Using a foundation that is too opaque.
- Applying too much cream product underneath.
- Dragging the top layer across the face and moving the placement.
- Underpainting every feature even when only one needs softer edges.
- Using a cream formula that never sets and causes the base to separate.
A simple beginner method
- Apply your normal skincare and let it settle.
- Add a small amount of cream blush or bronzer where you usually wear it.
- Blend the edges but leave the center slightly stronger than normal.
- Press a light layer of skin tint or foundation over the area.
- Step back and check whether enough color remains visible.
- Add a small amount on top only if needed.
When underpainting is not worth the extra step
If your current routine already gives you the finish you like, there is no reason to change the order. Underpainting is useful when you want softer edges or a more integrated finish, not because it is automatically superior.
A useful underpainting routine is the one that simplifies the final result rather than making the routine more complicated. If the technique leaves you correcting the base repeatedly, scale back the amount of cream underneath or use it on fewer areas. The finished complexion should look easier, not more engineered.
Featured photo by Look Studio via Unsplash.